Easy One Skein Beanie: Free Beginner Crochet Pattern
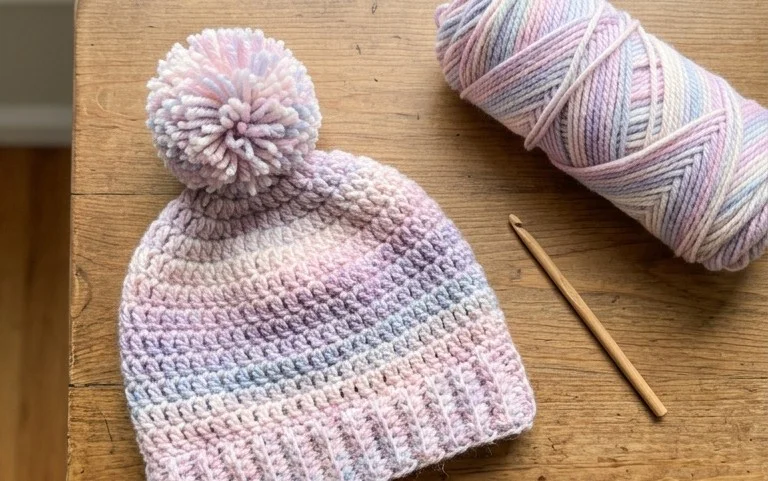
A single skein of soft worsted yarn transforms into a warm, snug accessory that sits comfortably against the skin without feeling bulky. This simple project is a favorite for anyone learning to crochet, as the repetitive movement of double crochet stitches helps build consistent tension while keeping your hands busy during quiet evenings. You will find that the fabric develops a uniform, stretchy texture that holds up well through long winter commutes and cold morning walks. By mastering the basic crown shaping technique provided here, you create a professional-looking hat that fits most adults comfortably. This guide breaks down each round into clear steps to ensure your yarn flows smoothly from start to finish.
Why This Project Is Worth Making
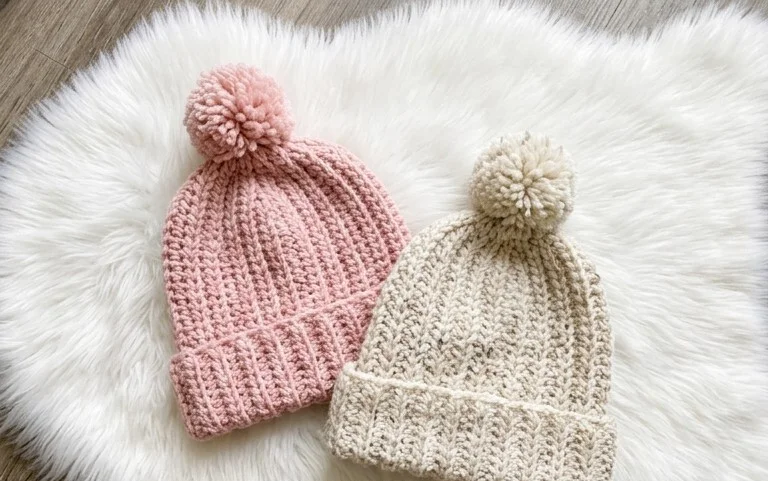
This classic crochet beanie provides a satisfying, rhythmic flow of stitches that works up quickly, making it an ideal choice for last-minute gifts or a weekend project. Using a worsted weight yarn, the fabric balances warmth and drape without feeling too heavy or stiff on the head. You will appreciate how the simple texture maintains its shape even after repeated wear, ensuring your handmade accessory lasts through many seasons. Because the design relies on a straightforward increase and decrease structure, it serves as a reliable pattern to have in your crafting library.
I finished this hat in a single Saturday afternoon while watching a movie. The instructions were very easy to follow and the sizing was perfect for my daughter.
— Sarah, hobbyist crocheter
Pattern Overview & Skill Level
- Skill Level: Beginner
- Approximate Time: 3 to 4 hours
- Construction: Worked in joined rounds from the crown downward to the brim
- Finished Dimensions & Sizing: Fits a standard adult head (20 to 22 inches circumference); height is adjustable
Materials & Supplies Needed
- Yarn: Worsted weight (#4 medium), 100% acrylic or wool blend, approximately 200 yards. Solid colors show stitch definition best.
- Hook Size: 5.0 mm (US H-8)
- Notions: Tapestry needle for weaving ends, stitch marker for keeping track of rounds, scissors, and a measuring tape.
- Safe yarn substitutions: Any standard #4 worsted yarn works well. Note that cotton yarn will result in a heavier, less stretchy hat, while superwash wool will offer more warmth and elasticity.
Stitch Guide & Abbreviations (US Terms)
- ch: chain
- st/sts: stitch/stitches
- sc: single crochet
- dc: double crochet
- inc: 2 dc in the same stitch
- sl st: slip stitch to join
- YO: yarn over
- dc2tog: double crochet 2 stitches together (decrease)
Step-by-Step Pattern Instructions
Crown and Body
- Rnd 1: Magic ring, ch 2, work 12 dc into ring. Join with sl st to first dc. (12 sts)
- Rnd 2: Ch 2, 2 dc in each st around. Join. (24 sts)
- Rnd 3: Ch 2, *1 dc in next st, 2 dc in next st; repeat from * around. Join. (36 sts)
- Rnd 4: Ch 2, *1 dc in each of next 2 sts, 2 dc in next st; repeat from * around. Join. (48 sts)
- Rnd 5: Ch 2, *1 dc in each of next 3 sts, 2 dc in next st; repeat from * around. Join. (60 sts)
- Rnd 6-15: Ch 2, dc in each st around. Join. (60 sts)
Brim and Finishing
- Rnd 16: Ch 1, sc in each st around. Join. (60 sts)
- Rnd 17: Ch 1, sc in each st around. Join. Fasten off.
- Assembly: Use a tapestry needle to weave in all loose ends on the inside of the hat. Ensure the tension is consistent during the joining process to prevent a visible seam.
Care & Washing Instructions
- Hand wash your finished hat in cool water using a gentle detergent specifically designed for wool or delicate fibers.
- Gently squeeze out excess water with a towel, taking care not to wring or twist the fabric, then lay the hat flat on a dry towel to air dry.
- Do not hang the hat to dry, as the weight of the water can cause it to stretch out of shape.
Pro Tips & Common Mistakes to Avoid
Maintaining consistent tension is vital for a professional finish; if your stitches feel too tight, move up one hook size. Always place a stitch marker at the first stitch of every round to ensure you do not lose your count, especially when moving between the increase rounds and the main body. Weave your ends in by threading them through the back loops of the stitches for at least two inches to ensure they remain hidden and secure. To adjust the size of the hat, simply add or subtract rounds in the main body section, keeping in mind that each additional round will use approximately 10 additional yards of yarn.
Frequently Asked Questions
Can I use a chunky weight yarn instead of worsted?
Using a chunky weight yarn will significantly change the gauge and result in a much larger hat. You would need to reduce the starting stitch count and the number of increase rounds to maintain a proper fit.
Is this pattern suitable for someone who has never crocheted before?
Yes, this pattern uses basic stitches and a straightforward construction. As long as you are comfortable with a magic ring and basic double crochet, you will find this project very approachable.
Can I sell the hats I make from this pattern?
You are welcome to sell items made from this pattern as long as you provide credit to the designer. Do not reproduce the written text or images of the pattern itself.
How do I make the hat longer for a slouchy look?
To create a slouchier fit, continue working the even rows (Rnd 6-15) for an additional 2 to 3 inches before starting the single crochet brim rounds. Remember to account for the extra yarn required when purchasing your materials.
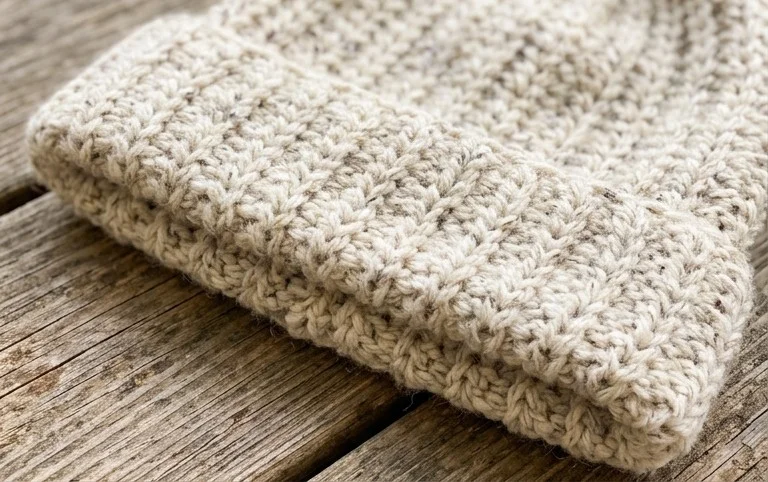
Your finished hat serves as a reliable accessory that keeps you warm while showcasing the natural drape of your chosen yarn. If you want a different look next time, try using a variegated wool blend to create subtle color changes without switching skeins or weaving in extra ends. Sharing a photo of your work on social media helps other makers find inspiration for their own projects. Please browse the rest of the blog for more free patterns to build your collection of handmade gifts and wardrobe staples.