Easy Crochet Pumpkin Pot: Free Step-by-Step Pattern
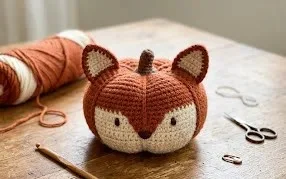
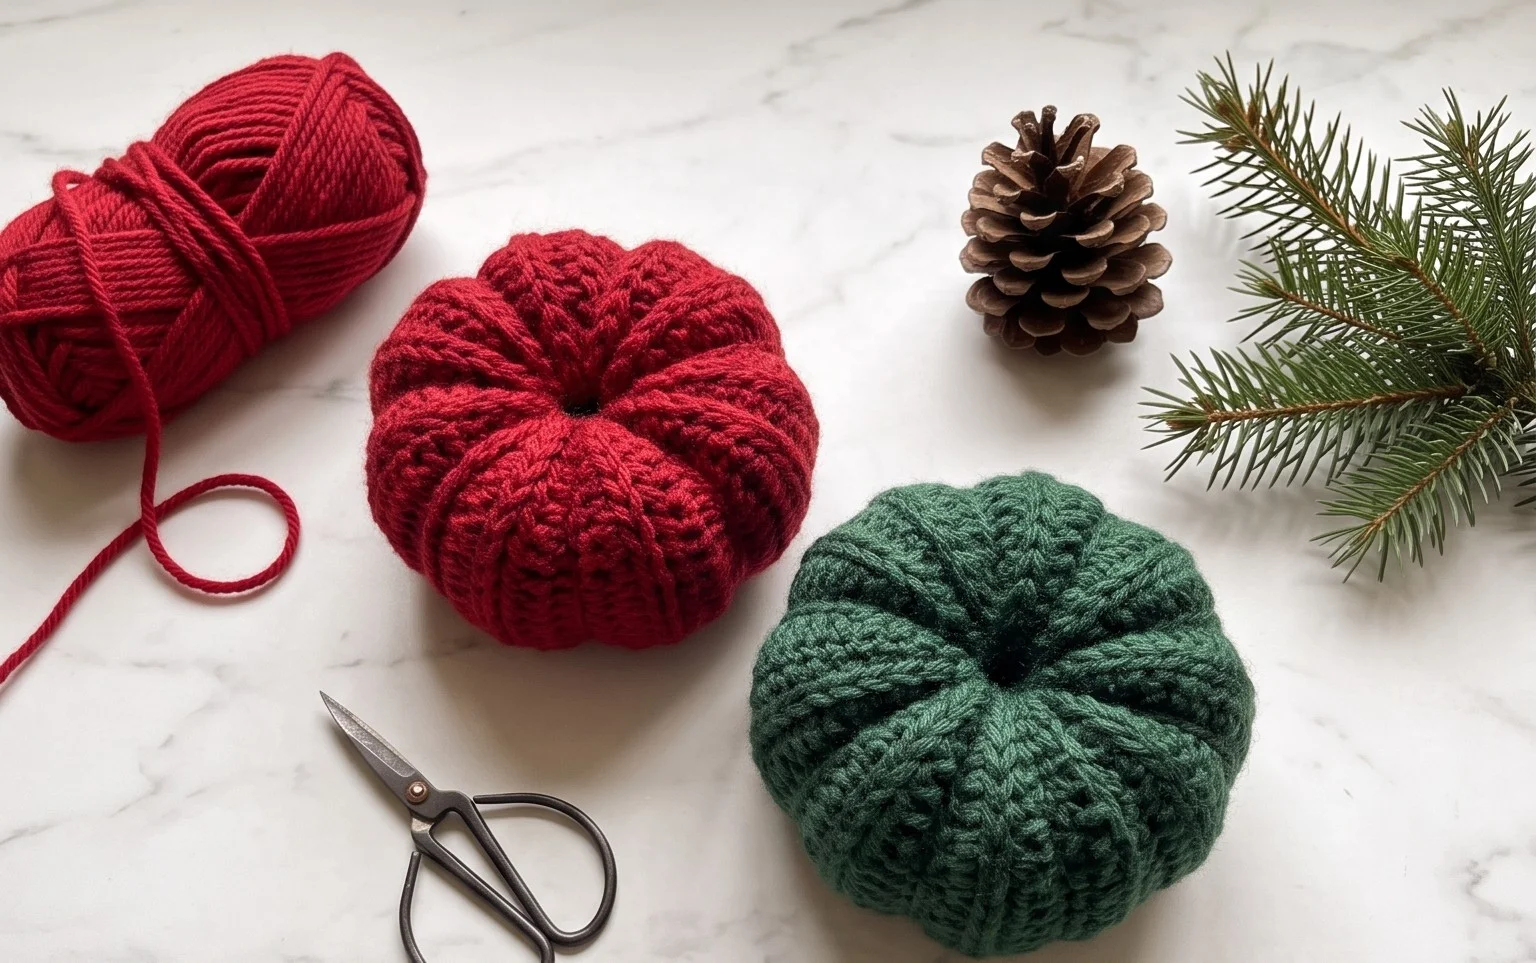
This charming pumpkin pot sits comfortably in the palm of your hand, featuring a firm, rounded shape that feels sturdy and substantial. It is a wonderful project for those who want to practice building objects from the bottom up without complex shaping or uneven seams. You will use a standard magic ring to start the base, followed by a continuous spiral of single crochet stitches to create the hollow center. Whether you are aiming to gift a handmade holiday decoration or simply want to organize your small sewing notions, this little container comes together quickly with basic supplies.
Why You Will Love This Pattern
This project is an ideal choice for anyone looking to master the art of amigurumi. The design relies on a continuous spiral, which removes the need for visible join lines often found in more complex projects. It uses basic increases and decreases, making it an accessible entry point for those new to three-dimensional crochet. Because the item is small, it serves as an excellent way to use up leftover yarn scraps from previous projects. The final result creates a firm, tactile object that holds its shape well even with repeated handling.
I finished this project in a single evening while watching a show. The instructions are very clear, and my toy turned out exactly like the photos.
— Sarah, beginner crocheter
Pattern Overview & Skill Level
- Skill Level: Beginner
- Approximate Time: 2 to 3 hours
- Construction: Continuous rounds worked in a spiral, starting with a magic ring and ending with a simple cinch closure.
- Finished Dimensions & Sizing: Approximately 4 inches tall by 3 inches wide.
Materials & Supplies Needed
- Yarn: Worsted weight #4 cotton or acrylic yarn, approximately 50 yards in the main color and 10 yards for accents.
- Hook Size: 3.5 mm (E-4) crochet hook to ensure tight tension so stuffing does not show through.
- Notions: Polyester fiberfill stuffing, stitch markers, tapestry needle for weaving ends, and safety eyes (8 mm).
- Safe yarn substitutions: You may use DK weight yarn with a 3.0 mm hook for a smaller, more delicate version, or bulky weight yarn with a 5.0 mm hook for a larger, softer toy. Note that changing yarn weight will significantly alter the amount of stuffing needed.
Stitch Guide & Abbreviations (US Terms)
- MR: Magic Ring. A technique used to begin rounds by crocheting into a loop that is then pulled closed.
- ch: Chain.
- sc: Single crochet. Insert hook, yarn over, pull up a loop, yarn over, pull through both loops.
- inc: Increase. Work 2 sc in the same stitch to add a stitch.
- dec: Decrease. Work 2 sc together using the front loops only to reduce the stitch count.
- sl st: Slip stitch.
- st/sts: Stitch/stitches.
Step-by-Step Pattern Instructions
Body
- Rnd 1: Start 6 sc into a magic ring (6 sts).
- Rnd 2: Work 2 sc in each st around (12 sts).
- Rnd 3: [1 sc in next st, 2 sc in next st] repeat 6 times (18 sts).
- Rnd 4: [1 sc in next 2 sts, 2 sc in next st] repeat 6 times (24 sts).
- Rnd 5-10: Work 1 sc in each st around (24 sts).
- Rnd 11: [1 sc in next 2 sts, dec] repeat 6 times (18 sts).
- Insert safety eyes between Rnd 7 and Rnd 8, approximately 4 stitches apart. Begin adding fiberfill stuffing firmly.
- Rnd 12: [1 sc in next st, dec] repeat 6 times (12 sts).
- Rnd 13: Dec 6 times around (6 sts).
Assembly & Finishing
After completing Rnd 13, cut the yarn leaving a 6-inch tail. Use the tapestry needle to weave the tail through the front loops of the remaining 6 stitches. Pull the tail tightly to close the hole completely. Secure the end with a knot and bury the remaining yarn tail inside the body of the piece. If you have extra limbs or features to attach, use the same yarn color to sew them on securely using a whip stitch.
Care & Washing Instructions
- Hand wash in cold water using a gentle detergent to maintain the shape of the stuffing.
- Lay the piece flat on a towel in a shaded area to air dry completely.
- Do not wring or twist the item, as this can cause the internal fiberfill to clump or deform.
Pro Tips & Common Mistakes to Avoid
Maintain consistent tension throughout the project to prevent gaps between stitches where the stuffing might show. Use a stitch marker at the start of every round to keep track of your count, as it is easy to lose your place in a continuous spiral. Weave in your yarn ends as you go, rather than waiting until the end, to ensure they remain hidden deep inside the stuffing. If you want to adjust the size, add more or fewer rounds of plain single crochet in the middle section, keeping in mind that this will require slightly more or less yarn and stuffing.
Frequently Asked Questions
Can I use wool yarn instead of cotton?
Yes, you can use wool yarn, but it may felt over time if washed frequently. Ensure it is a non-superwash wool if you want to avoid stretching.
Is this project suitable for absolute beginners?
Yes, this pattern uses only single crochet and basic increasing/decreasing, making it an excellent choice for learning fundamental amigurumi techniques.
Can I sell the items I make from this pattern?
Please check the original designer’s terms of service included with the pattern source, as selling finished goods depends on the specific copyright guidelines set by the author.
Why are there gaps showing my stuffing?
Gaps occur when the tension is too loose. Try using a smaller hook size than recommended on the yarn label to create a tighter fabric.
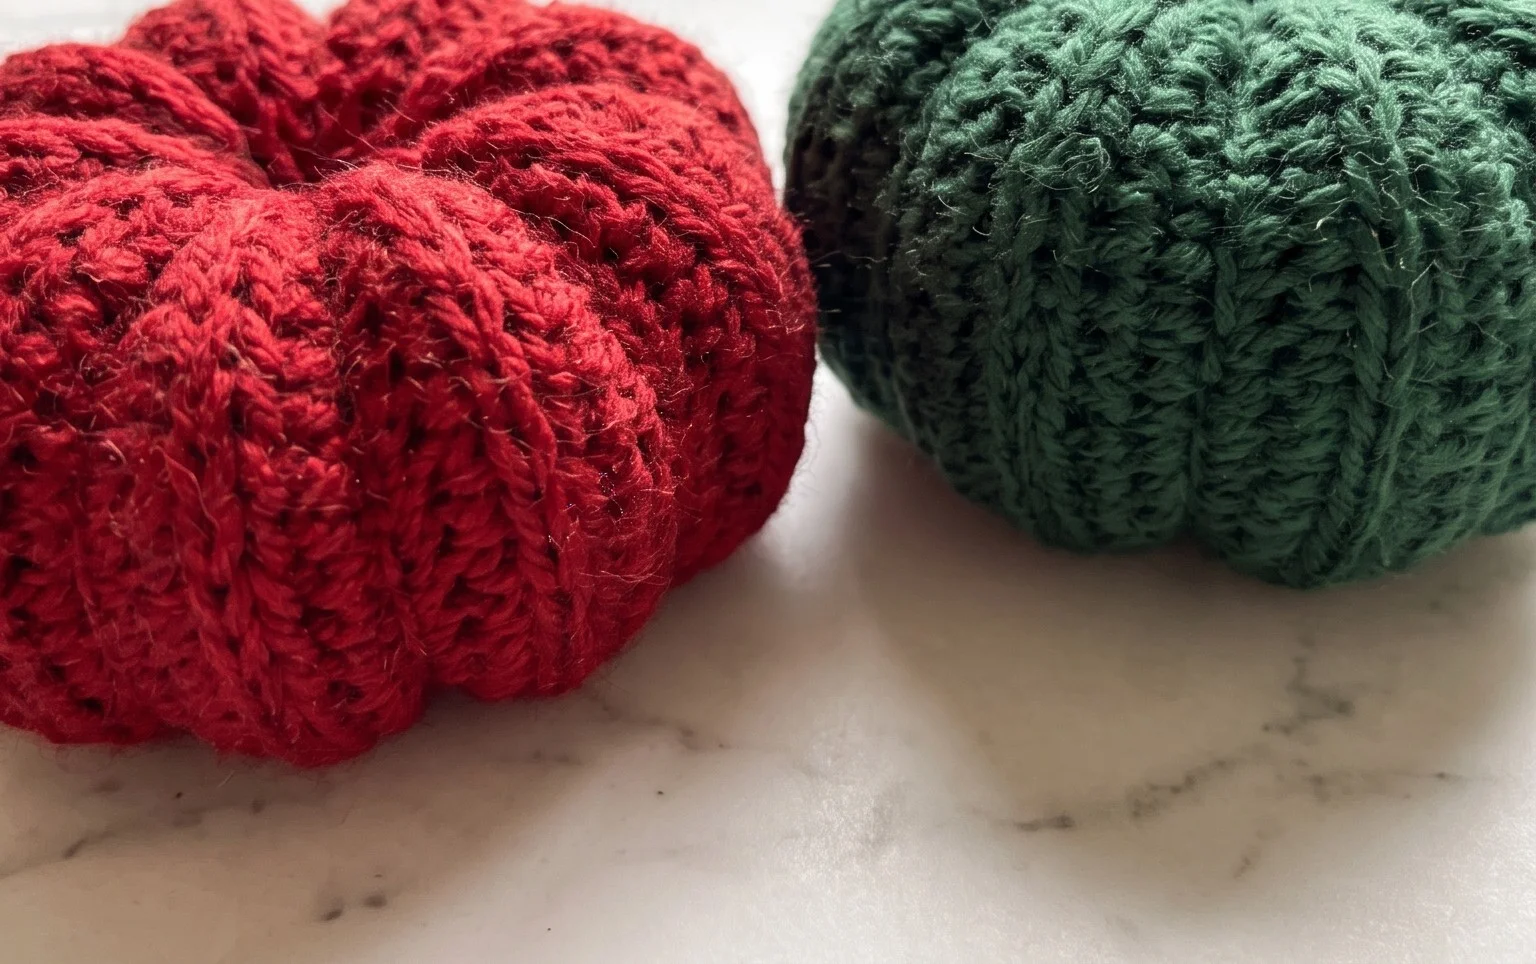
Seeing your finished pumpkin pot filled with small items like buttons or safety pins brings a special satisfaction to any crafting space. You might consider using a variegated green yarn if you want a more rustic look or perhaps working with a bulky velvet yarn to make a larger, softer version for your coffee table. Please share a picture of your creation on social media or Pinterest so others can see your color choices. I encourage you to browse the rest of the blog for more free patterns to fill your afternoon.