Easy Crochet Granny Square Pattern: Step-by-Step Guide
Soft to the touch and sturdy enough for daily use, these little squares turn a pile of yarn scraps into something useful. Beginners often feel intimidated by the idea of sewing pieces together, but this project relies on clean, intentional stitches that keep everything tidy and flat. You will notice how the fabric develops a distinct, crisp weight that holds its shape long after the hook is set down. This guide breaks down the essential finishing tools you need to secure your ends and join each block, ensuring your final piece feels professional and polished every time.
Why This Project Is Worth Making
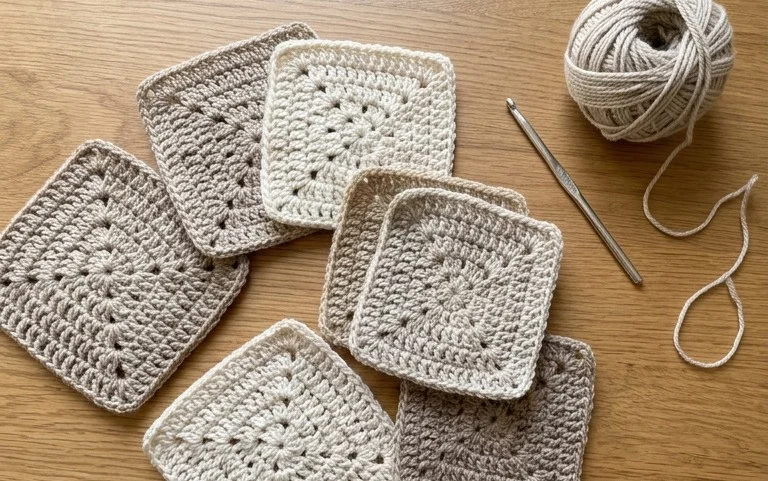
The Classic Crochet Granny Square is the fundamental building block of crochet design. This specific version uses a traditional three-double-crochet cluster technique, creating a dense, square motif that lays flat without curling. It works perfectly for beginners because it relies on repeating a simple cluster stitch pattern, which makes it easy to memorize within just a few rounds. Because each square is independent, you can work on them in short sessions while commuting or watching television, making this a highly portable project.
Advanced crocheters enjoy this pattern for its meditative rhythm and the ability to use up small amounts of leftover yarn from larger projects. Since each motif requires only a few yards of yarn, it turns scraps into a cohesive, usable fabric. Whether you are assembling a large heirloom blanket or creating a small coaster set, the geometric consistency of this square provides a professional finish every time.
I struggled with keeping my edges straight in other projects, but the simple chain-space repeats in this pattern made it impossible to lose my place. The squares came out perfectly square on the first try.
— Sarah, beginner crocheter
Pattern Overview & Skill Level
- Skill Level: Beginner
- Approximate Time: 30 to 45 minutes per square
- Construction: Worked in joined rounds, starting from the center and expanding outward
- Finished Dimensions & Sizing: Approximately 5 inches by 5 inches using medium weight yarn and a 5.0 mm hook
Materials & Supplies Needed
- Yarn: Worsted weight (#4), 100% acrylic or wool blend, approximately 15-20 yards per square.
- Hook Size: 5.0 mm (H-8).
- Notions: Tapestry needle for weaving in ends, scissors, and a measuring tape to ensure consistent sizing.
- Safe Yarn Substitutions: Cotton yarn will result in a firmer, less stretchy square with slightly more definition; acrylic provides a softer, lighter drape ideal for blankets. Note that changing fiber or weight will alter the finished size, so adjust your hook size to maintain a tight tension.
Stitch Guide & Abbreviations (US Terms)
- ch = chain
- st/sts = stitch/stitches
- sl st = slip stitch
- dc = double crochet
- cluster = a group of 3 dc stitches worked into the same space
- sp = space (the gap created by chain stitches)
- MR = magic ring
Step-by-Step Pattern Instructions
Granny Square Base
- Rnd 1: Start with a MR. Ch 3 (counts as first dc), work 2 dc into the ring, ch 2, *3 dc into ring, ch 2; repeat from * twice more. Join with a sl st to the top of the initial ch 3. (12 dc, 4 ch-2 spaces)
- Rnd 2: Sl st into the next dc and into the corner ch-2 sp. Ch 3, 2 dc in same sp, ch 2, 3 dc in same sp (first corner made). *Ch 1, skip 3 dc, (3 dc, ch 2, 3 dc) in next ch-2 sp (corner); repeat from * twice more. Ch 1, join with sl st to top of initial ch 3. (24 dc, 4 corner ch-2 spaces, 4 ch-1 side spaces)
- Rnd 3: Sl st into the next 2 sts and into the corner ch-2 sp. Ch 3, 2 dc in same sp, ch 2, 3 dc in same sp. *Ch 1, 3 dc in next ch-1 sp, ch 1, (3 dc, ch 2, 3 dc) in next ch-2 sp (corner); repeat from * twice more. Ch 1, 3 dc in last ch-1 sp, ch 1, join with sl st to top of initial ch 3. (36 dc, 4 corner ch-2 spaces, 8 ch-1 side spaces)
- Rnd 4: Continue in established pattern, working (3 dc, ch 2, 3 dc) in each corner and 3 dc in each side ch-1 sp, with ch 1 between every cluster. Join with a sl st. (48 dc)
Finishing
Once you reach your desired size, fasten off leaving a 6-inch yarn tail. Use a tapestry needle to weave the tail through the back of the stitches to secure it. If making multiple squares, block them by pinning them to a foam mat, spraying lightly with water, and allowing them to air dry to ensure all corners are sharp and even.
Care & Washing Instructions
- Machine wash on a gentle cycle in cool water (max 30°C) using mild detergent.
- Lay the squares flat on a clean towel to air dry, reshaping them while damp to maintain the square geometry.
- Avoid wringing or twisting the fabric, as this can stretch the stitches and distort the square shape.
Pro Tips & Common Mistakes to Avoid
- Maintain consistent tension by ensuring your yarn is not wrapped too tightly around your finger; if the square begins to cup, your tension is likely too tight.
- Place a stitch marker in the first stitch of every round to keep track of where the round begins and ends, which prevents accidentally adding extra stitches.
- Weave in your ends as you go, or bury them under the stitches of the next round to save time during the final finishing phase.
- To adjust the size, simply add more rounds using the same corner and side space logic, keeping in mind that each additional round will require significantly more yarn.
Frequently Asked Questions
Can I use a different yarn weight for this pattern?
Yes, you can use any weight of yarn, but you must choose a hook size appropriate for that yarn. Using a finer yarn with a small hook will create a smaller, more delicate square.
Is this pattern suitable for complete beginners?
Yes, this is an ideal starter project. It introduces the double crochet stitch and the concept of working into chain spaces rather than individual stitches, which is much easier for learners.
How do I join these squares together?
You can join squares using a whip stitch along the back loops or by using a single crochet join, which creates a more textured, decorative seam.
Am I allowed to sell items made from this pattern?
You are welcome to sell finished items made from this pattern provided you credit the original design and use your own photographs for marketing materials.
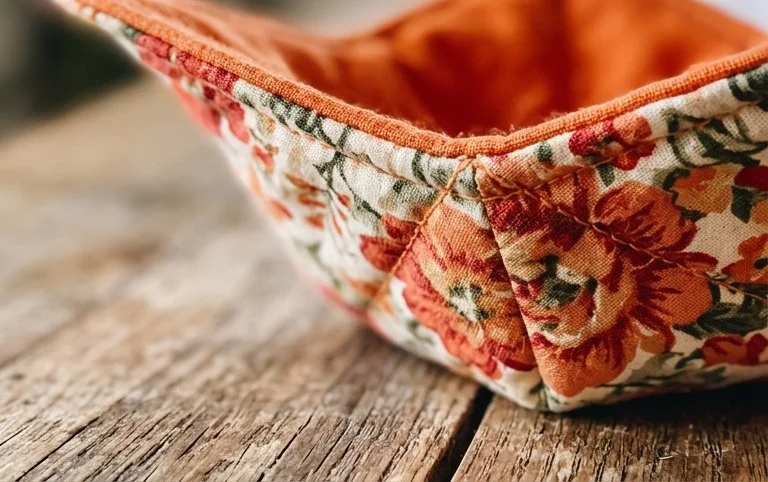
Your finished square now holds a crisp structure that works beautifully for anything from a warm throw to a simple desktop coaster. Try swapping your yarn for a natural cotton blend if you want more durability or experiment with a vibrant ombre to make your colors pop. Seeing a completed pile of these squares is satisfying, so please share a photo of your progress to show off your hard work. You can find more free patterns and techniques on our main blog whenever you are ready for your next project.