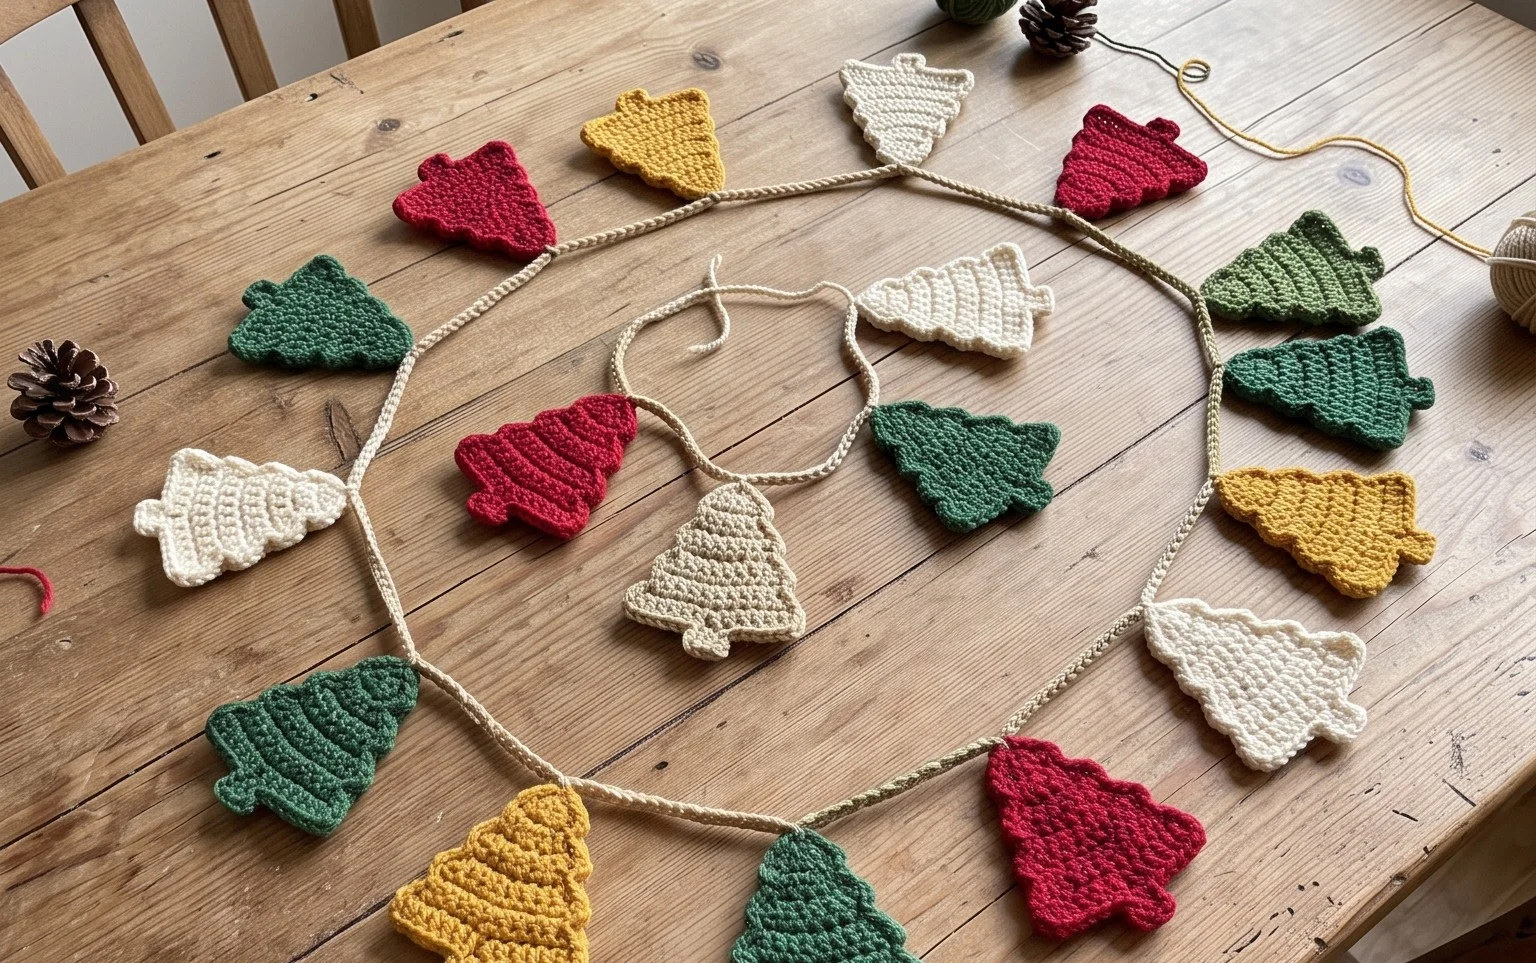
Easy Christmas Tree Ornament Free Crochet Pattern
A cotton sphere hanging from a pine branch feels dense and satisfying in your palm, holding its shape firmly through every holiday season. This basic crochet project fits comfortably into a busy afternoon, making it a reliable pick for beginners who want to practice consistent tension. You will learn to work in a magic ring and manage steady increases, which helps build the smooth, round surface necessary for professional-looking handmade toys or decor. Whether you are building a full set of ornaments or simply clearing out leftover yarn ends, the process provides a grounding, repetitive flow that feels like a quiet escape during the holidays.
Why This Project Is Worth Making
This project is a classic single crochet sphere designed for amigurumi enthusiasts. Its compact size makes it a reliable way to practice tension control while working in continuous rounds. You will find that the rhythm of the increase and decrease rounds is meditative, allowing you to build muscle memory quickly. Because it uses less than 50 yards of yarn, it is an efficient way to clear out small amounts of leftover supplies from your stash. The final shape is sturdy, perfect for handheld toys or decorative ornaments, and the construction method ensures no visible seams when done correctly.
I finally mastered the invisible decrease thanks to the clear steps in this pattern, and my finished sphere turned out perfectly round without any gaps for the stuffing to poke through.
— Sarah, beginner amigurumi maker
Pattern Overview & Skill Level
- Skill Level: Beginner
- Approximate Time: 45 to 60 minutes
- Construction: Worked in continuous rounds using a magic ring, starting with an increase section, followed by even rounds, and ending with a decrease section.
- Finished Dimensions: Approximately 3 inches in diameter depending on yarn choice and tension.
Materials & Supplies Needed
- Yarn: Worsted weight #4, 100% cotton or acrylic blend, approximately 30 yards.
- Hook Size: 3.5 mm (E-4) for a tight, dense fabric that prevents stuffing from showing.
- Notions: Stitch marker, tapestry needle, fiberfill stuffing, scissors.
- Safe yarn substitutions: You may use DK weight yarn with a 3.0 mm hook for a smaller, finer result. Using a larger hook than recommended will result in loose stitches where the fiberfill stuffing will be visible.
Stitch Guide & Abbreviations (US Terms)
- MR: Magic ring
- ch: Chain
- sc: Single crochet
- inc: Increase (work 2 sc in the same stitch)
- dec: Invisible decrease (insert hook into the front loop of the next two stitches, yarn over and pull through both loops, yarn over and pull through remaining two loops)
- st(s): Stitch(es)
- sl st: Slip stitch
- FO: Fasten off
Step-by-Step Pattern Instructions
Sphere Body
- Rnd 1: Start 6 sc in a MR (6 sts).
- Rnd 2: Inc in each st around (12 sts).
- Rnd 3: [Sc in next st, inc in next st] 6 times (18 sts).
- Rnd 4: [Sc in next 2 sts, inc in next st] 6 times (24 sts).
- Rnd 5: [Sc in next 3 sts, inc in next st] 6 times (30 sts).
- Rnds 6-10: Sc in each st around (30 sts).
- Rnd 11: [Sc in next 3 sts, dec in next st] 6 times (24 sts).
- Rnd 12: [Sc in next 2 sts, dec in next st] 6 times (18 sts).
- Rnd 13: [Sc in next st, dec in next st] 6 times (12 sts).
- Stuffing: Firmly pack the sphere with fiberfill until it reaches your desired density.
- Rnd 14: Dec 6 times (6 sts).
Finishing
Cut the yarn leaving a 6-inch tail. Use your tapestry needle to weave the tail through the front loops of the remaining 6 stitches. Pull the thread tight to close the hole completely and secure the end inside the sphere. Trim the excess yarn.
Care & Washing Instructions
- Hand wash the item in cool water with mild soap to maintain the shape of the stuffing.
- Lay the piece flat on a towel to air dry, turning it occasionally to ensure even evaporation.
- Gently squeeze and reshape the sphere with your hands after drying to restore its round form.
Pro Tips & Common Mistakes to Avoid
Maintain consistent tension throughout the project by keeping your yarn path straight and using a smaller hook size relative to your yarn weight; this creates a dense fabric that keeps the fiberfill hidden. Always place a stitch marker in the first stitch of every round to keep track of your count, as it is easy to lose your place in continuous spiral patterns. When weaving in your final yarn tail, anchor it by pulling through the center of the sphere once or twice before trimming to prevent it from slipping back out. You can adjust the size of the sphere by adding or removing increase rounds, but remember that each increase round adds 6 stitches; adjust your even-count rounds and final decrease rounds accordingly to maintain the spherical shape.
Frequently Asked Questions
Can I substitute the worsted weight yarn for velvet yarn?
Yes, but you will need to change your hook size to match the yarn manufacturer’s recommendation to maintain the structure. Note that the final size will be significantly larger.
Why are there gaps in my stitches where the stuffing shows?
This usually happens when your hook size is too large for the yarn weight. Switch to a hook size that is 0.5 mm to 1.0 mm smaller than the recommendation on your yarn label to achieve a tighter gauge.
Is this pattern suitable for complete beginners?
Yes, this is an excellent starter project. It requires only the most basic stitches and teaches you the fundamentals of working in the round and increasing and decreasing.
Can I sell finished items made from this pattern?
You are welcome to sell items made from this design, provided you credit the original pattern designer in your listing. Please do not redistribute the pattern text itself.
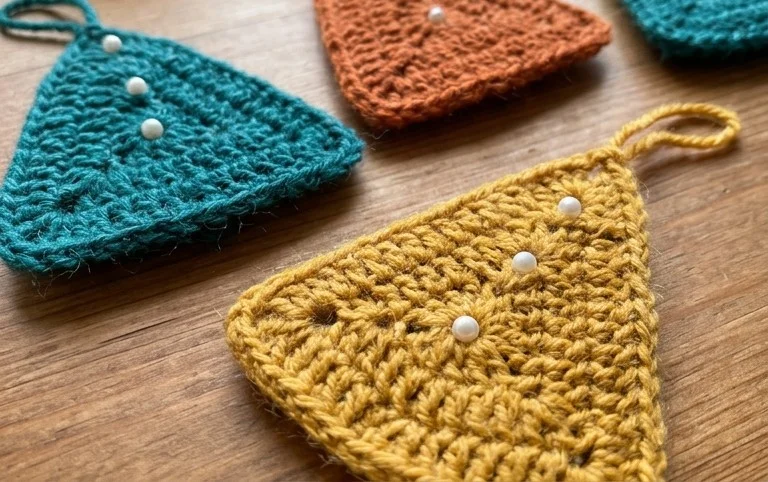
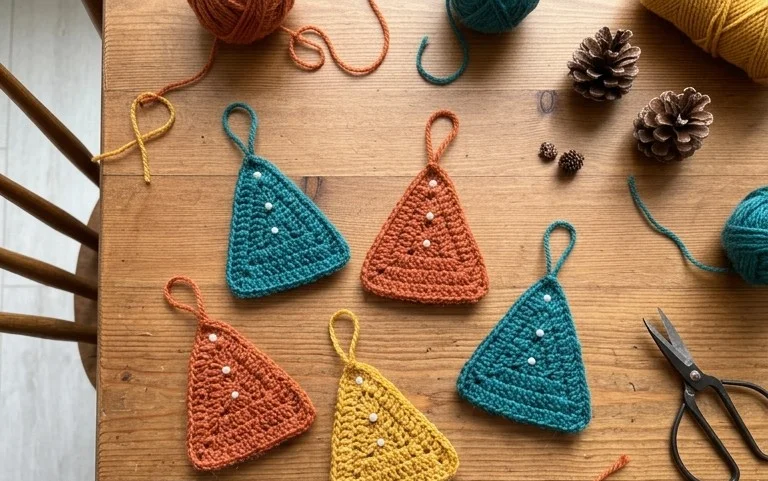
Your finished ornament hangs with weight and character, providing a handcrafted touch to any winter display. You can experiment with velvet yarn for a softer texture or add metallic thread to the final rounds for a subtle shimmer. Please post a photo of your work on Instagram or Pinterest to share how your color choices turned out. If you enjoyed this project, our archives contain dozens of additional small-scale decorations to fill your tree. Happy stitching as you build your own collection of seasonal treasures.