Crochet Cat Stitch Beanie: Easy Step-by-Step Pattern
Soft to the touch and dense enough to block out biting winter winds, this beanie features a unique construction that creates a distinct, raised pattern reminiscent of small kitten paws. This project suits anyone who wants a functional accessory that works up quickly using simple, repetitive motions. You will build confidence as you master working into the back loops to create a fabric with impressive depth and texture. It serves as an accessible starting point for makers who enjoy creating handmade gifts with a professional finish. Expect a relaxing session that results in a snug, stylish hat for yourself or someone special.
Why This Project Is Worth Making
This beginner-friendly project creates a classic crochet beanie that uses basic stitches to form a warm, stretchy fabric. It is a quick project because it uses a bulky weight yarn, making it ideal for last-minute gifts or stocking up on handmade winter wear. Because the pattern relies on a repeating sequence of single crochet stitches worked in the back loop, it is a relaxing process that helps you build muscle memory. The finished hat has a timeless, clean aesthetic that fits well with any wardrobe.
I managed to finish this hat in a single afternoon while watching a movie. The instructions were very easy to follow and the sizing was perfect for my head.
— Sarah, casual crafter
Pattern Overview & Skill Level
- Skill Level: Beginner
- Approximate Time: 2 to 3 hours
- Construction: Worked as a flat rectangle in rows, then seamed at the side and gathered at the top
- Finished Dimensions: 20 inches in circumference and 9 inches in height (stretchy fit for average adult)
Materials & Supplies Needed
- Yarn: Bulky weight (#5) acrylic or wool blend, approximately 180 yards.
- Hook Size: 6.0 mm / J-10.
- Notions: Large eye tapestry needle for weaving ends, stitch markers, and a tape measure.
- Yarn substitutions: You can use a worsted weight yarn held double to achieve the same gauge. Using a purely cotton yarn will result in a heavier, less stretchy hat compared to acrylic or wool.
Stitch Guide & Abbreviations (US Terms)
- ch: chain
- st/sts: stitch/stitches
- sc: single crochet
- BLO: back loop only (insert hook under only the back loop of the stitch instead of both loops)
- sl st: slip stitch
Step-by-Step Pattern Instructions
The hat is worked flat as a long rectangle. You will chain 31 to start. This length determines the height of your beanie. If you prefer a slouchier fit, you can add more chains to this foundation row.
Main Body
- Row 1: Sc in the 2nd ch from hook and in each ch across. Turn. (30 sts)
- Row 2: Ch 1, sc in BLO of each st across. Turn. (30 sts)
- Rows 3-60: Repeat Row 2 until the piece measures approximately 20 inches wide when slightly stretched.
Assembly
- Fold the rectangle in half so the short ends meet.
- Using your tapestry needle and a length of matching yarn, seam the two short ends together using a whip stitch or mattress stitch.
- Once the side is seamed, do not cut your yarn. Use your needle to weave the yarn in and out along the top edge of the tube.
- Pull the yarn tail tight to gather the opening shut. Secure the knot firmly on the inside of the hat.
- Weave in all remaining ends to ensure the hat stays secure through regular wear.
Care & Washing Instructions
- Hand wash in cool water using a mild wool-safe detergent to maintain the integrity of the fibers.
- Lay the hat flat on a clean towel to air dry; do not hang the hat, as this will stretch out the stitch pattern.
- Reshape the beanie while damp if necessary and keep it away from direct heat sources.
Pro Tips & Common Mistakes to Avoid
- Maintain consistent tension throughout the rows, especially when working the BLO stitches, to ensure the edges remain straight.
- Use a stitch marker at the first and last stitch of every row to ensure you do not accidentally drop or add stitches, keeping your edges uniform for easier seaming.
- Weave your yarn tails in multiple directions through the stitches rather than just knotting them, as this prevents the ends from popping out after washing.
- If you wish to make the hat smaller, reduce the number of foundation chains; every chain you remove reduces the hat height by approximately 1/2 inch.
Frequently Asked Questions
Can I use a lighter yarn weight for this pattern?
You can use a lighter weight, but you will need to increase your starting chain length and work more rows to maintain the finished dimensions. It is recommended to use a thinner hook to ensure the fabric remains dense and warm.
Is this pattern suitable for complete beginners?
Yes, this is an excellent first project because it only uses the single crochet stitch. The repetition helps you get comfortable with holding your hook and yarn consistently.
How do I adjust the size for a larger head?
Simply add more rows to the main body length before seaming. Each row adds roughly 1/3 inch of circumference to the hat. Ensure you keep track of your row count so the seam remains even.
Can I sell the hats I make from this pattern?
You may sell finished items made from this pattern, but you must use your own photographs. Please provide a link back to this tutorial when selling your work online.
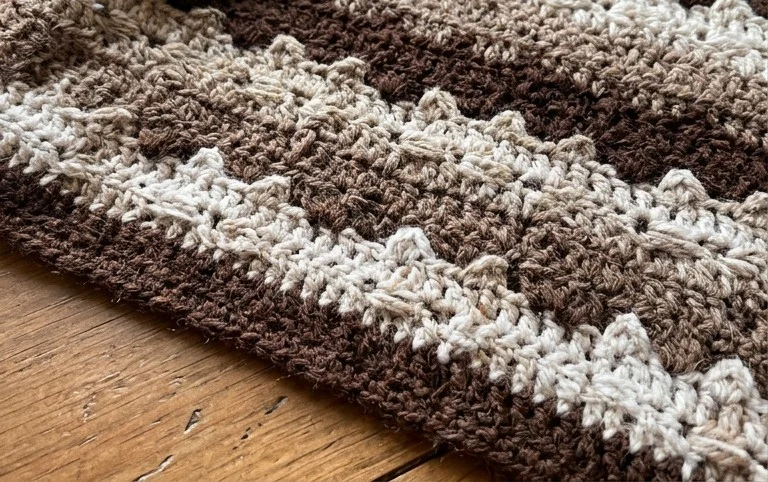
Your finished hat brings a cozy, handmade touch to any chilly day and serves as a reliable staple for your winter wardrobe. Try working this pattern in a variegated yarn to add visual movement or increase the chain count if you prefer a slouchy, oversized look. Show off your work by tagging us in your project photos online so we can see how your color choices turned out. Browse the rest of the blog for more accessible, free projects you can start this weekend.